» Northwest Events Calendar » User Guide
This is a step-by-step guide to create an event in the University's Event Calendar
If it is your first time using Cascade, we suggest watching this overview then proceed to next step. If you need additional help feel free to reach out to the Web Team.
If you have general questions in regards to using Cascade Server or want to learn more about Cascade Server please visit Web Services' Cascade Guides.
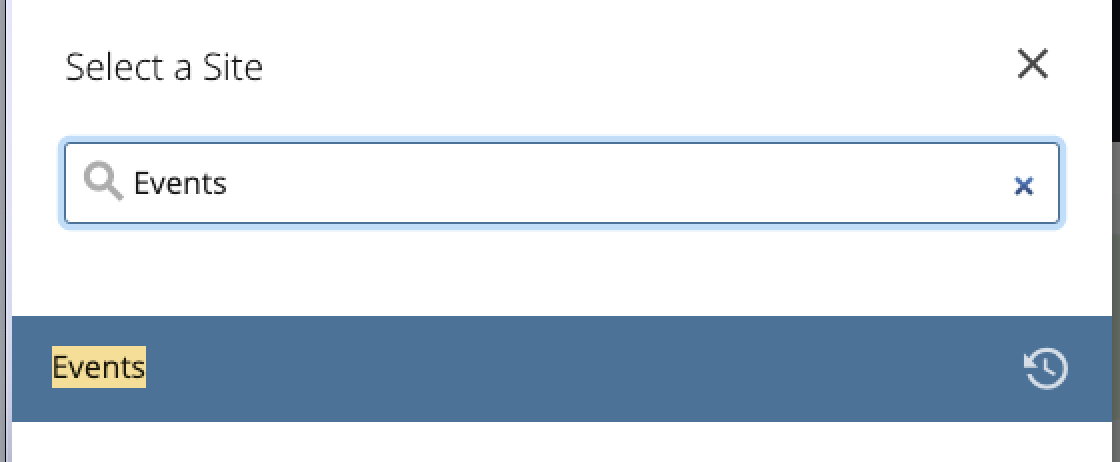
In the top right corner of the website and click "Go to a Site" and scroll to or search "Events"
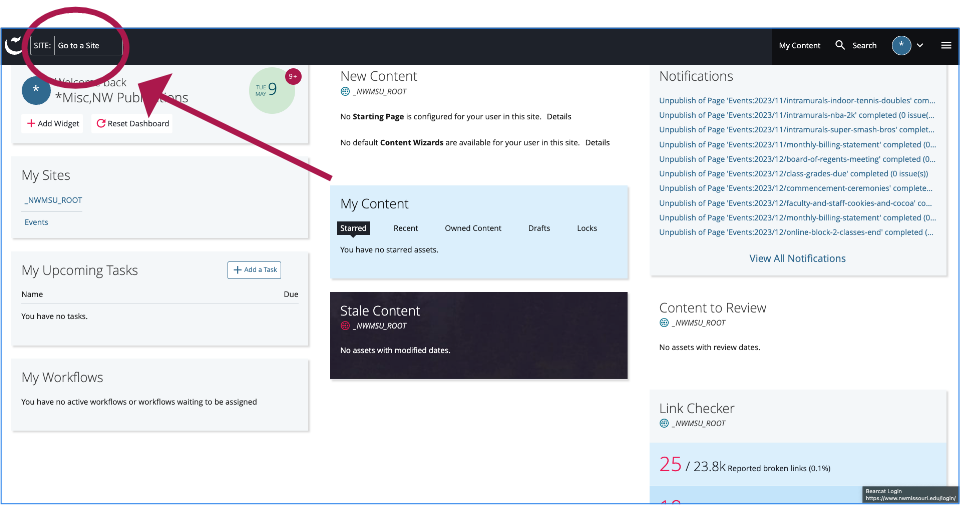
Click the Events folder as shown below:
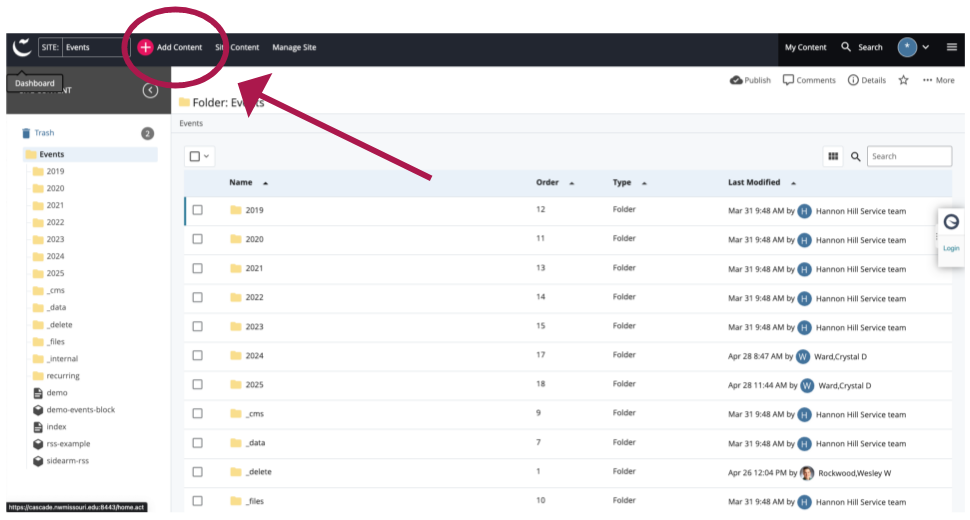
After clicking Events, you will be directed to Events folder.

Contact the Web Team (webteam@nwmissouri.edu) if you have general questions in regards to using Cascade Server or need any help.
Note: If you want to add custom Image to your event then we suggest that you upload image first, before creating an event. You can learn more about adding and image here.
After navigating to the Events folder, click "Add Content" in top right of the workspace.
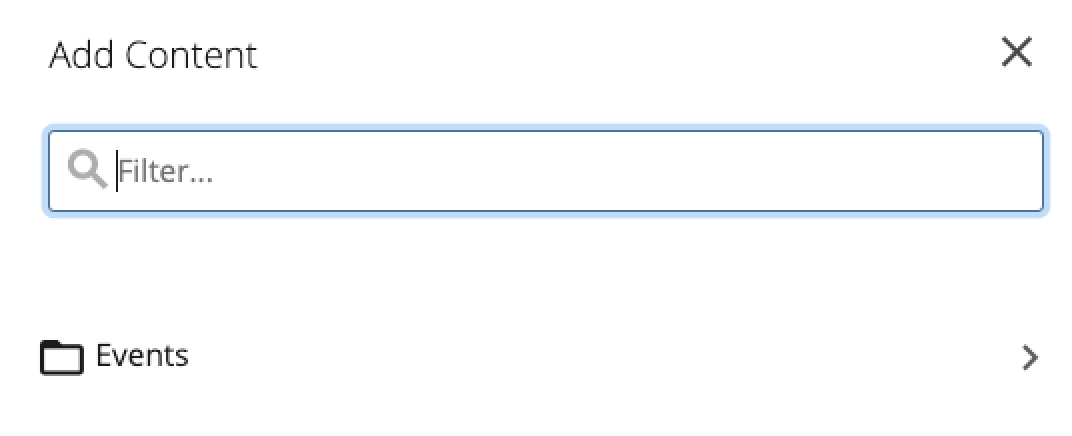
Then click "Events" folder.
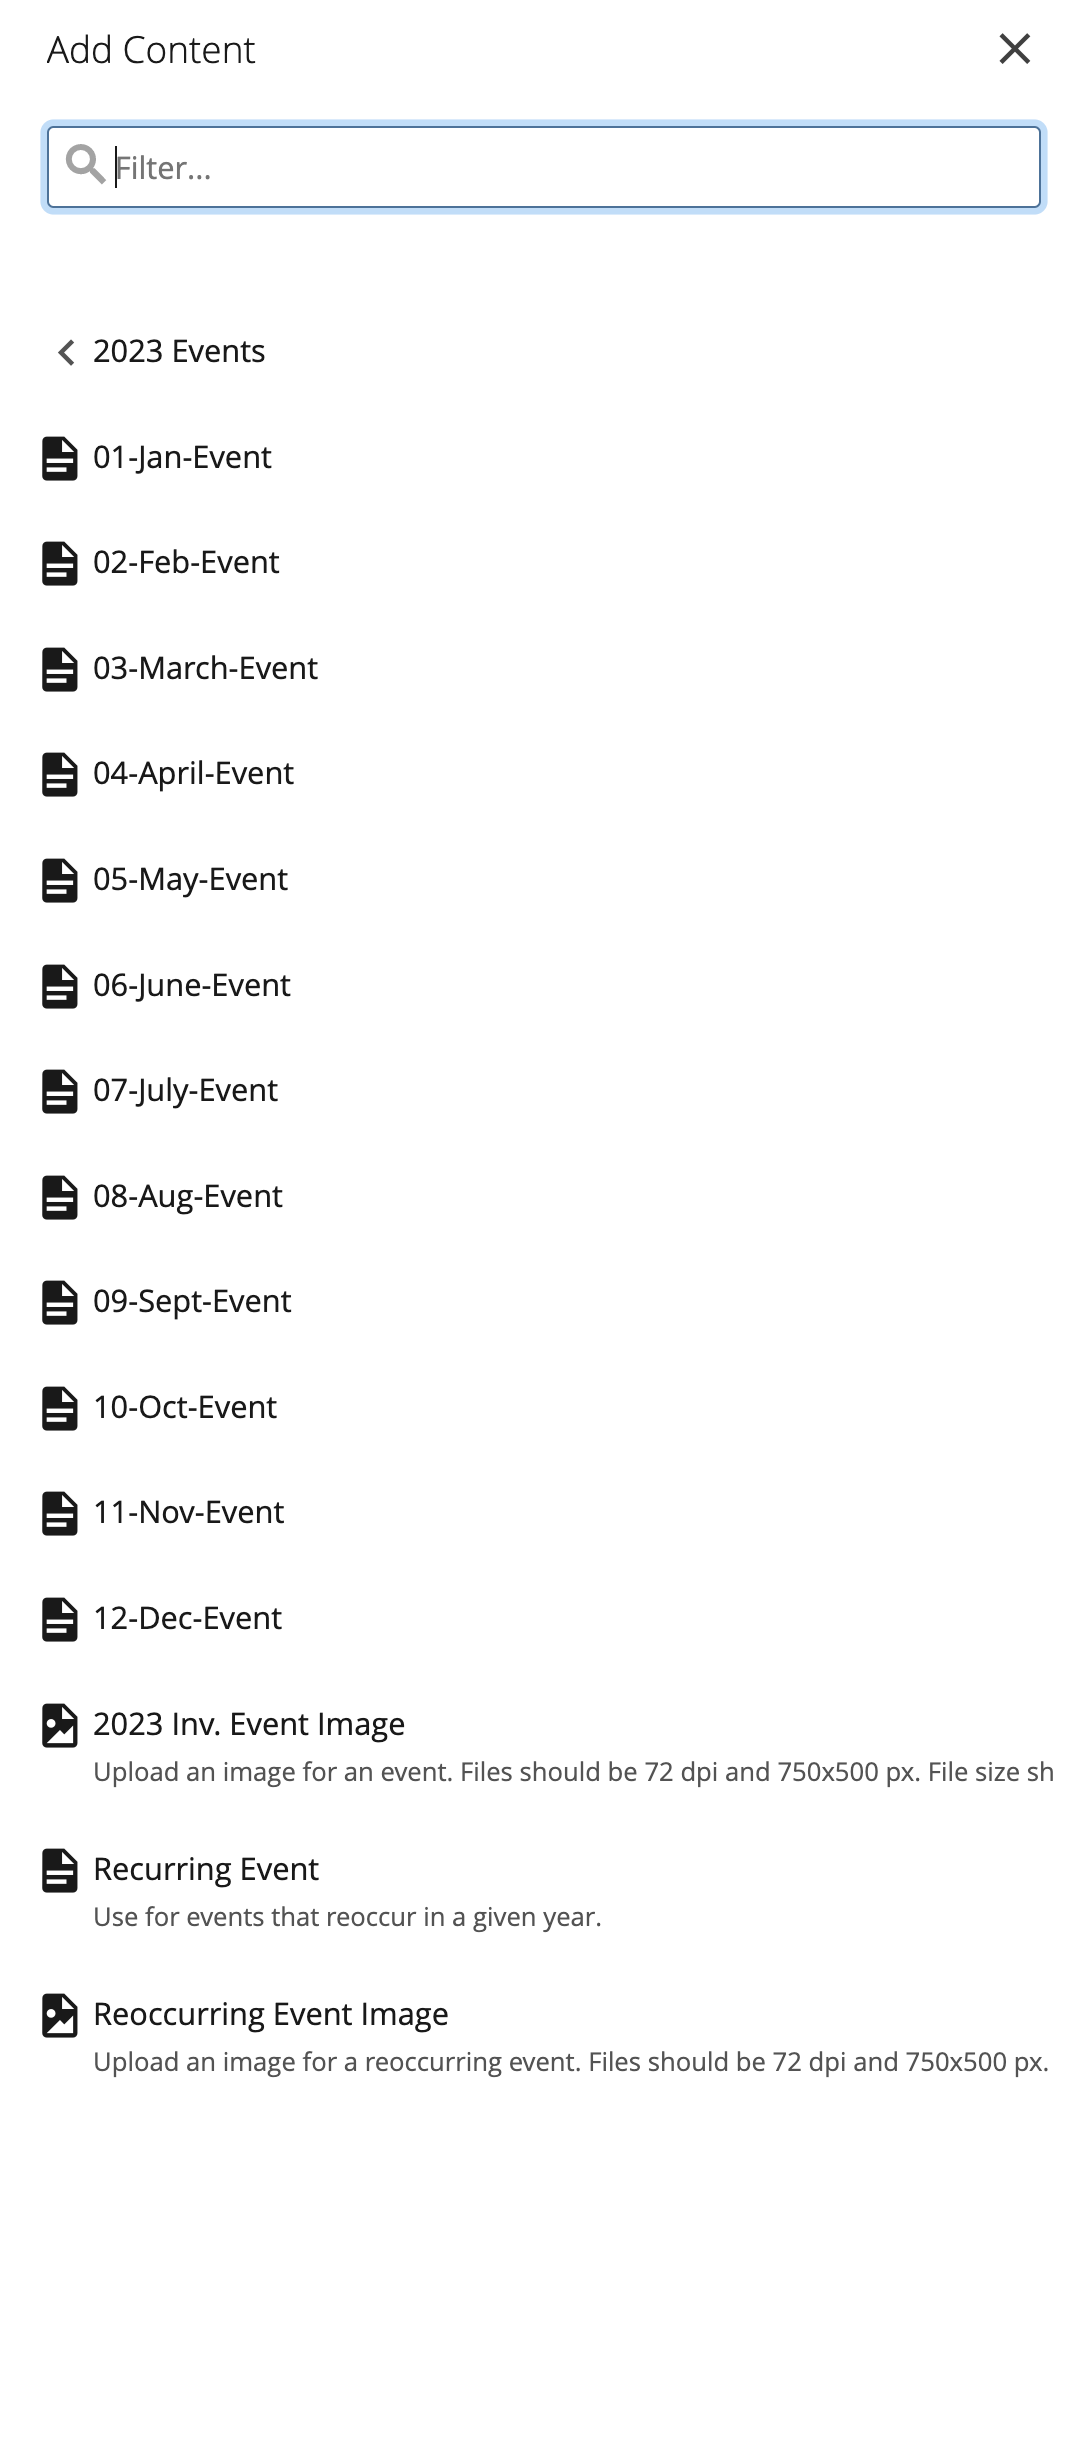
Then select folder that corresponds with which year event takes place.
Note: For recurring events
- If the event reoccurs every year (New Years Day, for example), select the Annual Recurring Event option.
If the event recurs in a given year (a weekly meeting for this semester, for example) select the corresponding year, then General Recurring Event.
- Read a more in depth explanation of recurring events.

To add an image, select either Inv. Event Image or Recurring Event Image to place the image in the correct location. Learn more about adding images.
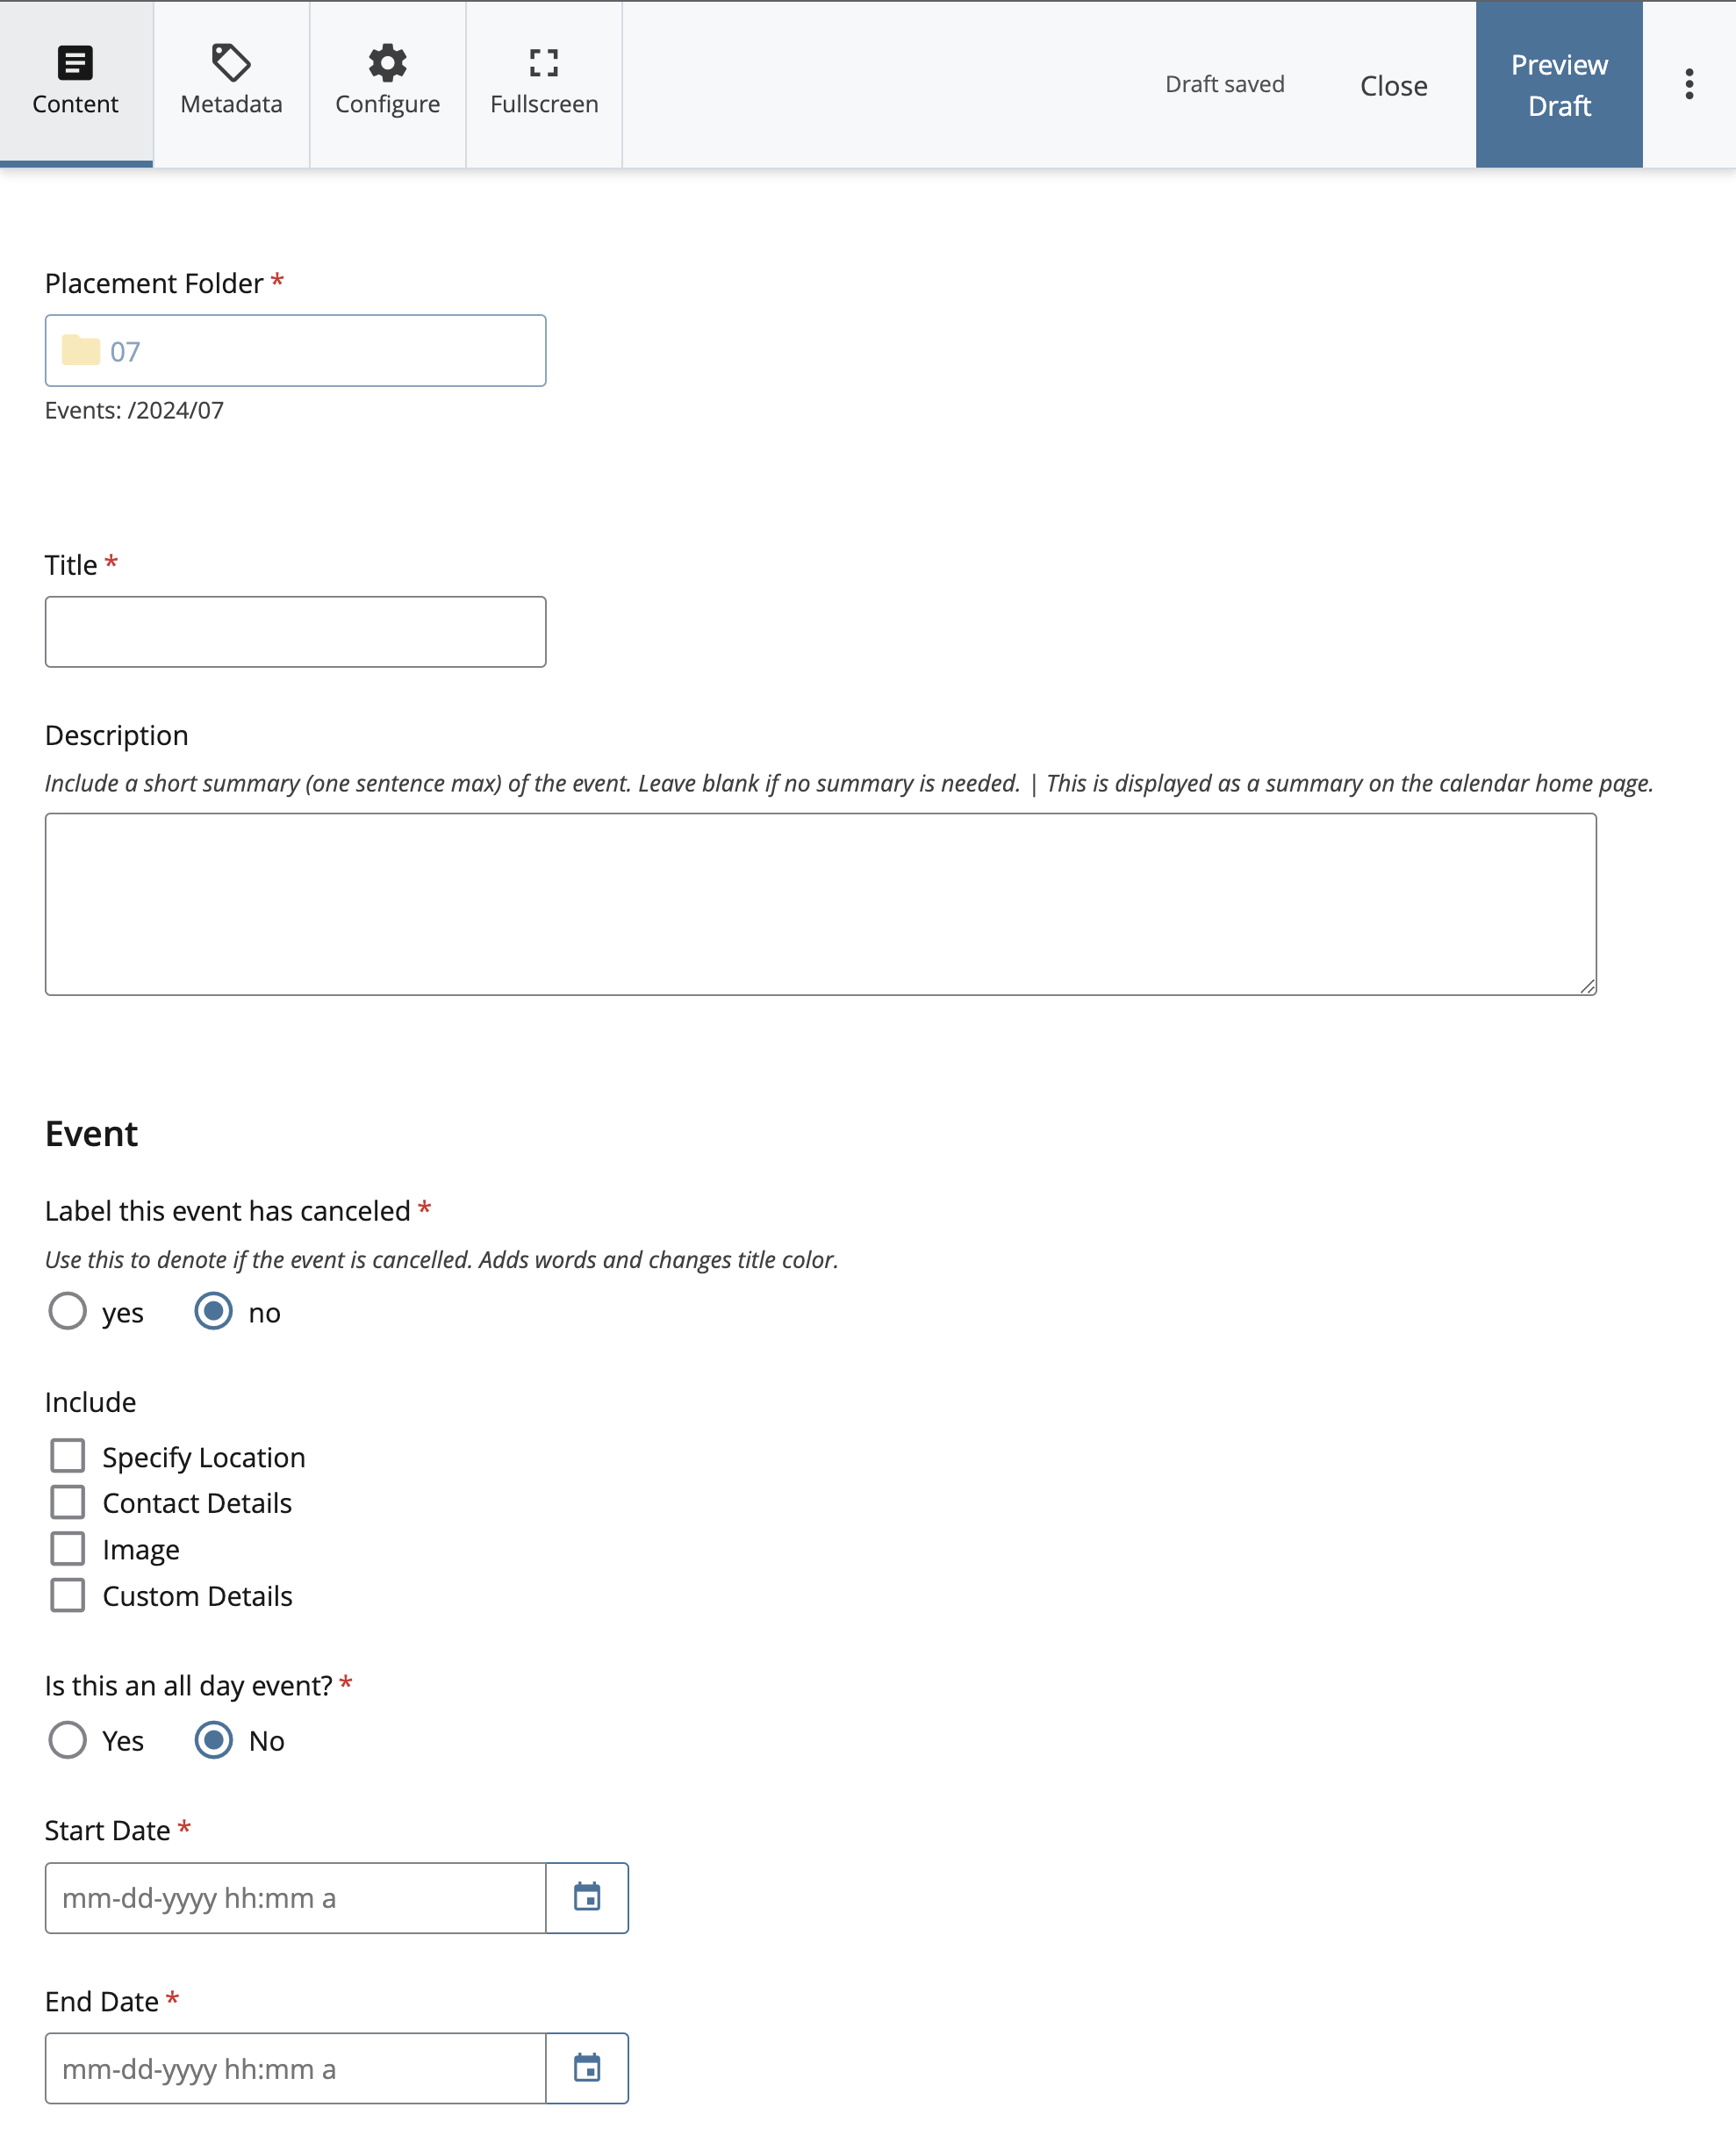
Next you will select a file that corresponds with the month the event takes place.
Title - Name of your event. (include the sponsor in the title to improve searchability. For example, use "Career Services: Mock Interview Day")
Description - Short summary of your event. Limit to about 15 words. Description will be displayed as a summary of the event on the calendar home page, not on the event's landing page.
Include:
Is this an all day event:
Start/End Date - If you selected yes for an all day event question then you will only need to enter start and end date (month/day/year), but if you selected no then in addition to start and end date, you will need to enter start and end time of the event. (hh:mm am/pm) Hint: Click the calendar icon to bring up a date/time picker widget.
Event description (Content) - Content written here will serve as body text and be displayed on the event landing page.
Filters:
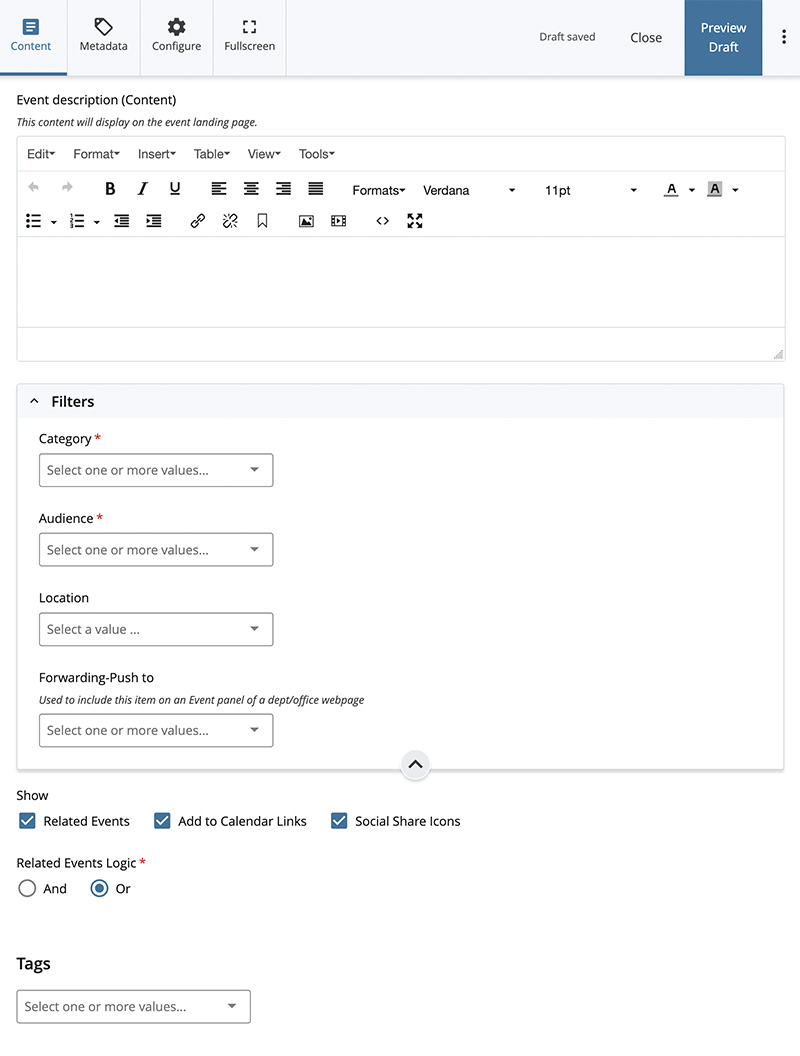
After filling out the form, click "Preview Draft" button on top right corner.
A preview of your event will appear. Check for any errors, select "Edit" to correct, if needed. Otherwise, select "Submit" button on top, then click "Check Content & Submit" button as shown highlighted in blue below:

Check Content will find any errors such as broken links, grammatical errors, etc. If any errors or mistakes are found use the check content wizard to correct them or go back and edit. Then submit the event with the check mark button.
After submitting the event click Publish in the action toolbar.
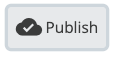
Leave all settings as they are and click Publish again.
Congratulations! Your event will be published soon.
Note: Depending on the volume of requests in the publish queue, it can take a few minutes or even a couple hours for your event to finish publishing.